A Quick Guide to SEO Image Optimization


Alright, let’s talk about the unsung hero and sometimes the villain of your blog posts: images. You pour your heart into crafting brilliant content, nail the keywords, and find that perfect visual… only to upload it as DSC_0342.jpg, skipping the alt text, cross your fingers and wait for it to perform.
Years of experience in SEO have taught me a harsh truth: ignoring image SEO is like baking a gorgeous Nanaimo bar and forgetting to tell anyone it’s in the fridge.
But here’s the good news! Optimizing your images for search engines and speed isn't some dark art reserved for tech wizards. It’s about nailing a few straightforward, essential habits. Forget complex jargon; let’s break down what image optimization in SEO really means and how you can do it painlessly.
What is Image Optimization in SEO
It’s like giving your images a double job.
Make your website faster: Shrinking file sizes so pages load lightning quick.
Make your images discoverable: Giving Google clear clues about what your pictures show, so they appear in relevant searches (especially Google Images!).
Make your website inclusive: Ensuring everyone, including people using screen readers, can understand your visuals.
It’s not just about ranking higher, it’s about creating a better, faster, more welcoming experience for everyone who visits your website.
Why Bother?
You might think images are just decoration. Think again!
Speed Kills Your Rankings: Massive, unoptimized images are the #1 reason websites crawl like a snail. In our instant world, users bounce fast if your page is slow. Google’s Core Web Vitals (big ranking factors) heavily penalize sluggish websites. Faster images = faster pages = happier visitors = better SEO and image harmony.
Unlock the Google Image Goldmine: Millions of user search directly on Google Images daily (for recipes, DIY fixes, product shots, infographics). If your visuals aren't optimized, you're invisible in this massive traffic stream. Proper SEO for images is your ticket in.
Accessibility - It’s Essential (Not Optional): Screen readers used by users who are blind or have low vision rely on text to describe images. Missing or useless alt text (alt="image") excludes a significant audience. Plus, accessibility is increasingly tied to overall SEO health and user experience signals. Good alt text is simply the right thing to do.
Context for the Crawlers: Google's bots are smart, but they can't "see" your stunning photos. They need file names, alt text, and surrounding content to understand relevance. Optimization provides that vital context.
How can you ensure your images are SEO friendly? Start with these basics.
4 Essential Pillars of Image SEO
Step 1: Ditch "IMG_4321" – Master Descriptive File Names
The Sin: Uploading straight from your camera/phone with cryptic names like DSC00234.jpg. This tells Google and users nothing.
The Salvation: Rename your image file before uploading it. Be descriptive and use relevant keywords naturally.
Terrible: IMG_4321.jpg,screenshot1.png,photo.jpg
Terrific: best-hiking-boots-canada-winter.jpg, how-to-prune-rose-bushes-infographic.png, organic-maple-syrup-500ml-glass-bottle.jpg
Why These are Great for Online Image SEO:
Google Speaks Filename: It’s the first strong clue about your image’s content.
User Friendly: If an image fails to load, the filename shows. best-hiking-boots... is infinitely more helpful than IMG_4321.
Sanity Saver: Finding that specific image in your media library few months later? Easy peasy.
How To: Right-click file > "Rename". Use lowercase, separate words with hyphens (-), keep it concise but descriptive. Include a primary keyword if it fits naturally. This is step one in how you can ensure your images are SEO friendly.
Step 2: Alt Text – Your Image's Voice for the World (and Google)
The Sin: The empty alt text field (alt=""), or worse, keyword-stuffed gibberish (alt="best hiking boots Canada buy online cheap discount Vancouver Toronto Montreal").
The Salvation: Write clear, concise, descriptive alternative text for every meaningful image.
What Alt Text Actually Does: It describes the image for screen readers and when images don't load. It also gives Google crucial context. This is core SEO for images.
It's NOT Just for SEO: First and foremost, alt text is about accessibility. It makes your content inclusive.
How to Write Great Alt Text (How to Optimize Images for Web Use - Part 1):
Be Accurate & Specific: Describe what's actually in the image.
Bad (Useless): alt="Boots"
Bad (Spammy): alt="best hiking boots Canada buy online..."
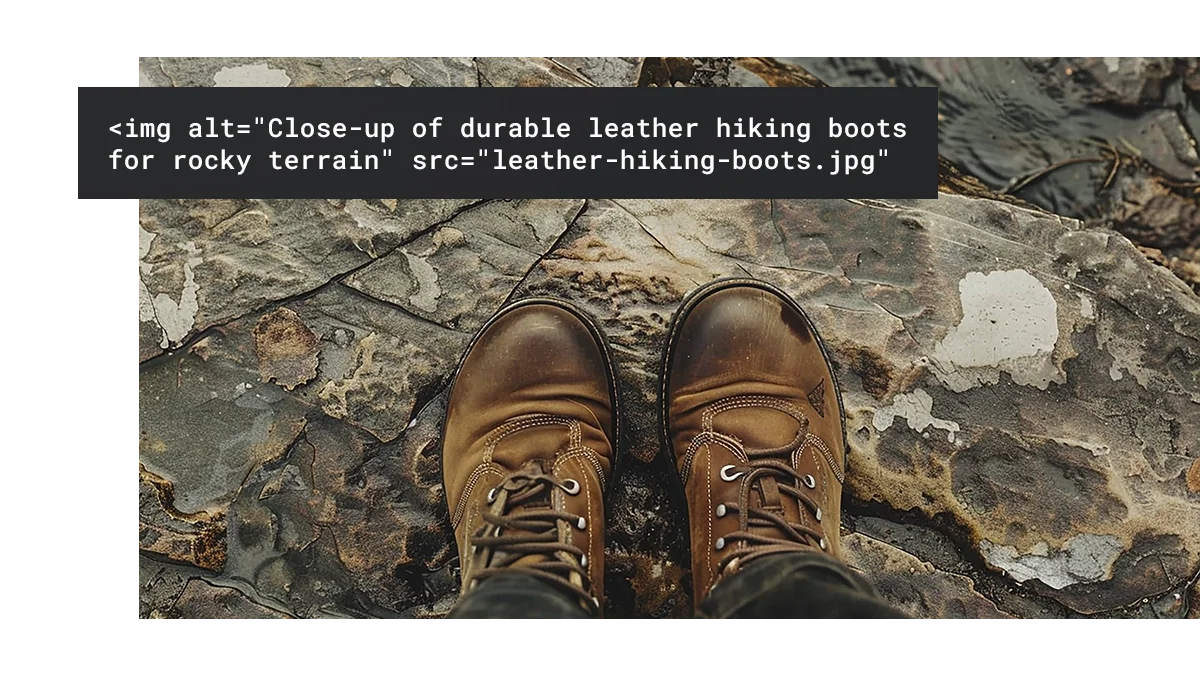
Good: alt="Close-up of durable leather hiking boots for rocky terrain"
Keep it Snappy: Aim for ~125 characters or less. Succinct but descriptive.
Context is King: Why is the image there?
Purely Decorative: Need a fancy divider line. Use alt="" (empty). This tells screen readers to skip it.
Functional: Need a search icon button. Describe the action: alt="Search the blog".
Informative: Need Photos, infographics, products. Describe the content clearly.
Text in Image? Describe It! If your image has important text (infographic headline, event flyer details), that text must be in the alt text or provide it as a text nearby.
Keywords? Try to do it as naturally as possible. If a relevant keyword fits smoothly into an accurate description, use it. Never force it. Clarity wins every time.
Step 3: Squeeze 'Em Tight – Painless Image Compression
The Sin: Uploading massive, 6MB high-resolution photos straight from your DSLR. They look gorgeous but will make your website load like dial-up.
The Salvation: Reduce the file size significantly without making the image look like a blurry mess. This is compression.
Why This Matters Hugely: Smaller files = faster loading. Faster pages = better user lead to a better user experience, lower bounce rates, and improved experience, lower bounce rates, and happy Google Core Web Vitals. This directly boosts rankings.
Simple Ways to Compress:
RESIZE Before Uploading: Don't upload a 6000x4000 pixel image if it only displays at 800px wide. Resize it to the exact display dimensions. Use free tools: Preview (Mac), Photos (Windows), Paint.NET, Canva, or GIMP.
Leverage Compression Tools: These cleverly remove hidden data (like metadata) and optimize pixels.
Online: TinyPNG / TinyJPG (Drag & drop magic), Squoosh.app (More control, open-source), Compressor.io.
WordPress Plugins: ShortPixel, Smush, EWWW Image Optimizer.
Desktop: Adobe Photoshop, Affinity Photo, ImageOptim.
Step 4: Choose Your Weapon Wisely – JPEG vs. PNG vs. WebP
Picking the right file format is like choosing the right hockey stick. It impacts performance!
JPEG (or JPG):
- Best For: Photographs, complex images with lots of colours, gradients, details. (like, landscapes, product photos, people shots).
- How it Works: "Lossy" compression. Makes small files by discarding some data. Quality is adjustable.
- Weakness: Terrible for text, sharp lines, solid colours, or transparency. JPEGs have a solid background, usually white. Not ideal for logos or screenshots.
PNG:
- Best For: Images needing transparency (logos, icons), images with text, line art, solid colours, simple graphics. Uses "lossless" (PNG-8 for simple) or "lossy" (PNG-24 for complex) compression. No quality loss in lossless mode, but files larger than optimized JPEGs.
- How it Works: Keeps sharp edges and clarity perfect. Handles partial transparency beautifully.
- Weakness: File sizes balloon for complex photos compared to JPEG. Not efficient for photography.
WebP (The Future, Now):
Best For: Pretty much everything! Developed by Google, WebP offers lossy and lossless compression. Typically creates files 25-35% smaller than JPEG or PNG at the same quality. Supports transparency like PNG. This is often the ultimate way to optimize photo for web and graphics.
The Catch: Supported by all modern browsers (Chrome, Firefox, Edge, Safari). Use tools or plugins (like those mentioned in Step 3) that automatically create WebP versions and provide fallback JPEG/PNG images for older browsers. Easy peasy.
Quick Format Cheat Sheet
Your Simple Image SEO Workflow (How Can I Ensure My Images Are SEO Friendly?)
Here’s how to put it all together before hitting upload:
Rename: terrible-filename.jpg to descriptive-keyword-filename.jpg
Resize: Scale image down to its display size on your website.
Compress: Run it through any tools like TinyPNG, Squoosh, or your plugin of your choice.
Choose Format: JPEG for photos, PNG for transparencies/graphics/text, WebP whenever possible.
Upload: Add to your CMS.
Alt Text: Fill in all alt text field accurately and concisely!
Bonus Pro Tip
Lazy Loading: Most modern websites do this automatically now (loading="lazy"). It makes images load only as the user scrolls near them, speeding up the initial page load.
Captions & Context: Place images near relevant text. Good captions add extra context for users and search engines.
Image Sitemaps: If you have a huge image gallery, submitting an image sitemap to Google Search Console can help with discovery.
Responsive images: Use srcset to serve different sizes for mobile and desktop.
How Can I Ensure My Images Are SEO Friendly?
Are my file names descriptive?
Have I added clear alt text?
Is every image compressed and in the right format?
Are my images mobile-friendly and responsive?
Is my site fast with optimized images and lazy loading?
Wrapping Up: Small Effort, Big Payoff
Image optimization isn’t just a technical chore, it’s the foundation of a modern, accessible, and SEO-friendly website. Whether you run a local business in Kitchener or manage blogs in Guelph, well-optimized images create better experiences for visitors and help you get noticed online.
Follow these steps and your website will:
- Load fast - keeping visitors engaged and reducing bounce rates
- Rank higher - thanks to smarter, indexable visuals
- Be more accessible - for all users, including those relying on screen readers
- Stand out in Google Images and other search results
Stop letting your amazing visuals slow you down or hide in the shadows. Spend those extra 30 seconds per image, and you’ll see the payoff in speed, rankings, and user satisfaction.
If you want expert help making sure your website’s visuals work as hard as they can, REM Web Solutions can guide you through image optimization, web performance, and SEO best practices, so that your website looks great and performs at its best.
Now’s the time to make your photos shine and let your brand stand out across the web.